TABLE OF CONTENTS
- account overview
- What you will need to create an account
- Create your Account
- Setup your Account and Verify your Phone Number
- Setup your MFA Methods
- Set your Identity Wallet PIN
- Next Steps
Creating an account overview
This guide walks users through the process of creating an account with 1Kosmos and setting it up for online identity verification.
What you will need to create an account
Before creating a new account, users will need to verify that they have access the following:
- Access to an identity verification tenant
- A mobile device with a working camera that can receive and send SMS messages
Create your account
Users can create a new account once they have been given access to an Identity Verification tenant by an administrator.
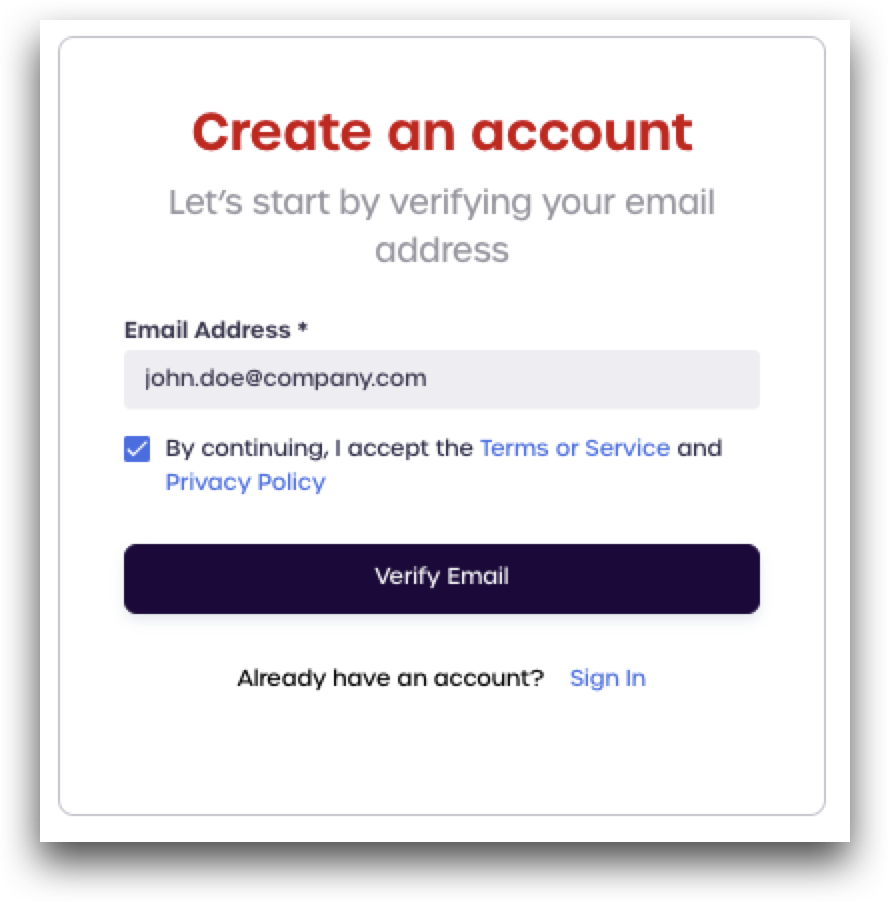
1. To create a new account, navigate to your identity verification tenant and click Get Started.

2. Enter an email address to use with your account. Your email address will also serve as your username.
3. Mark the checkbox after reviewing the terms and click Verify Email.
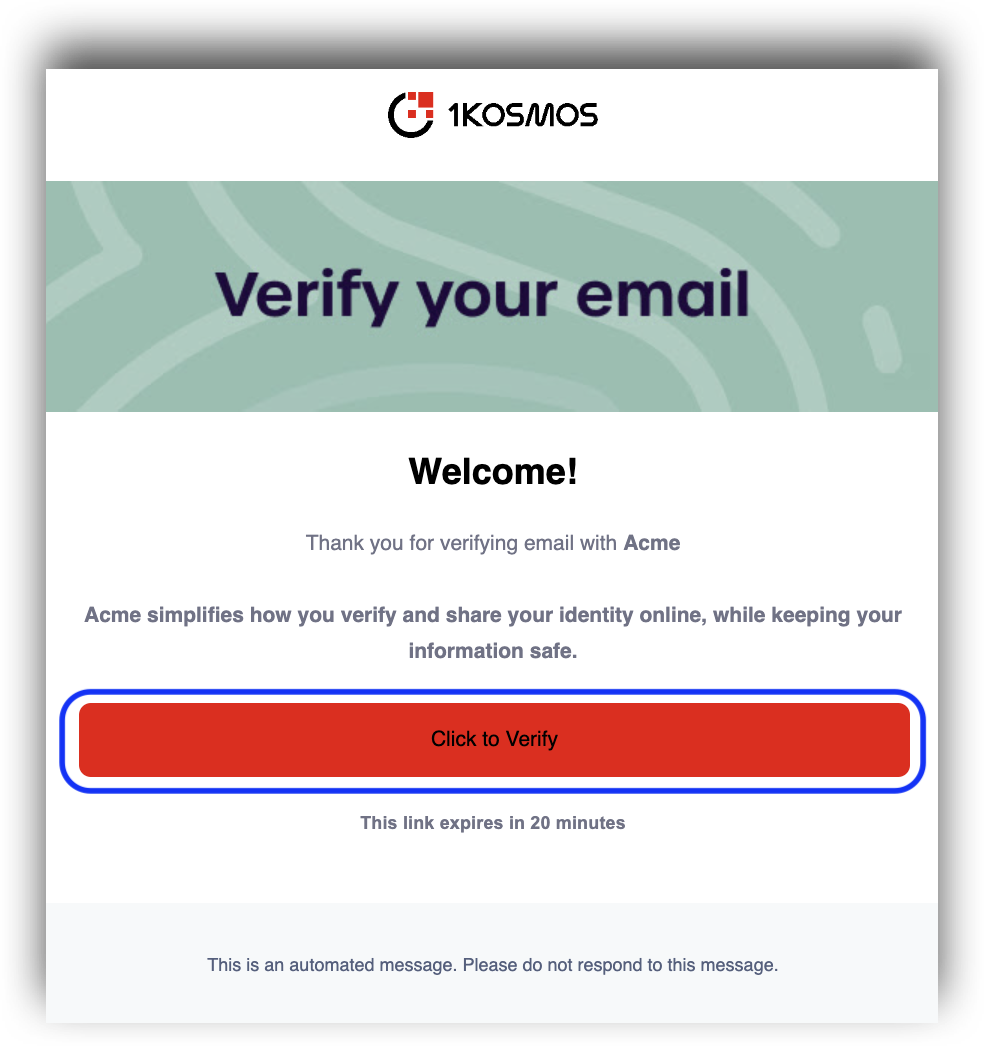
4. Check your email for a sign-up link. You can also change your email address at this time.
5. Click the verification link in your email to continue.
Setup your account and verify your phone number
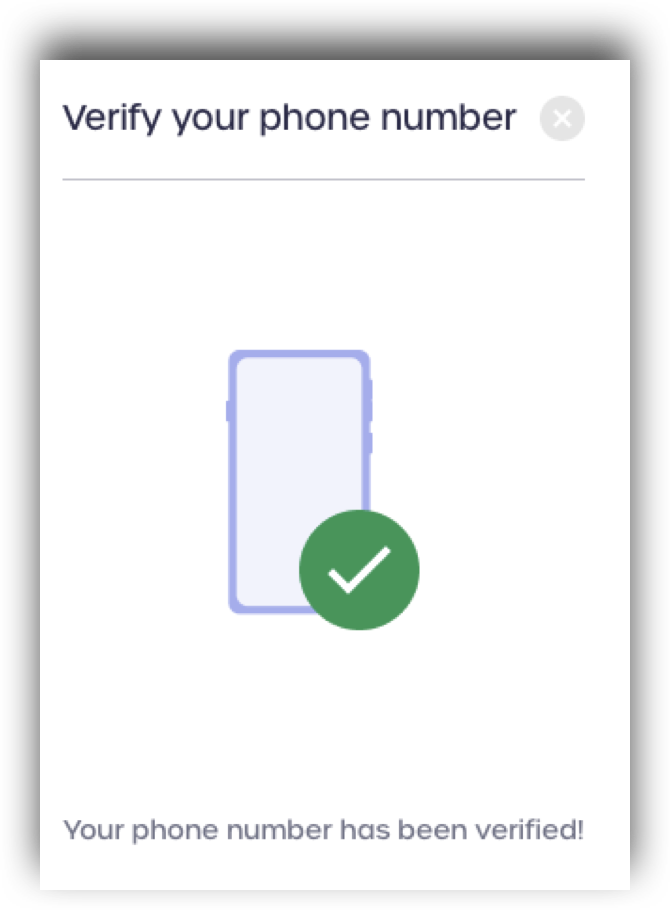
The next step is to set up your new account by filling out your personal details. You will also need to verify your phone number at this time by sending a specifically crafted SMS message.
A valid phone number is required to create an account
1. Enter your personal details and create a password.
2. Review the terms of service and privacy and mark the checkbox. Click Create Account.

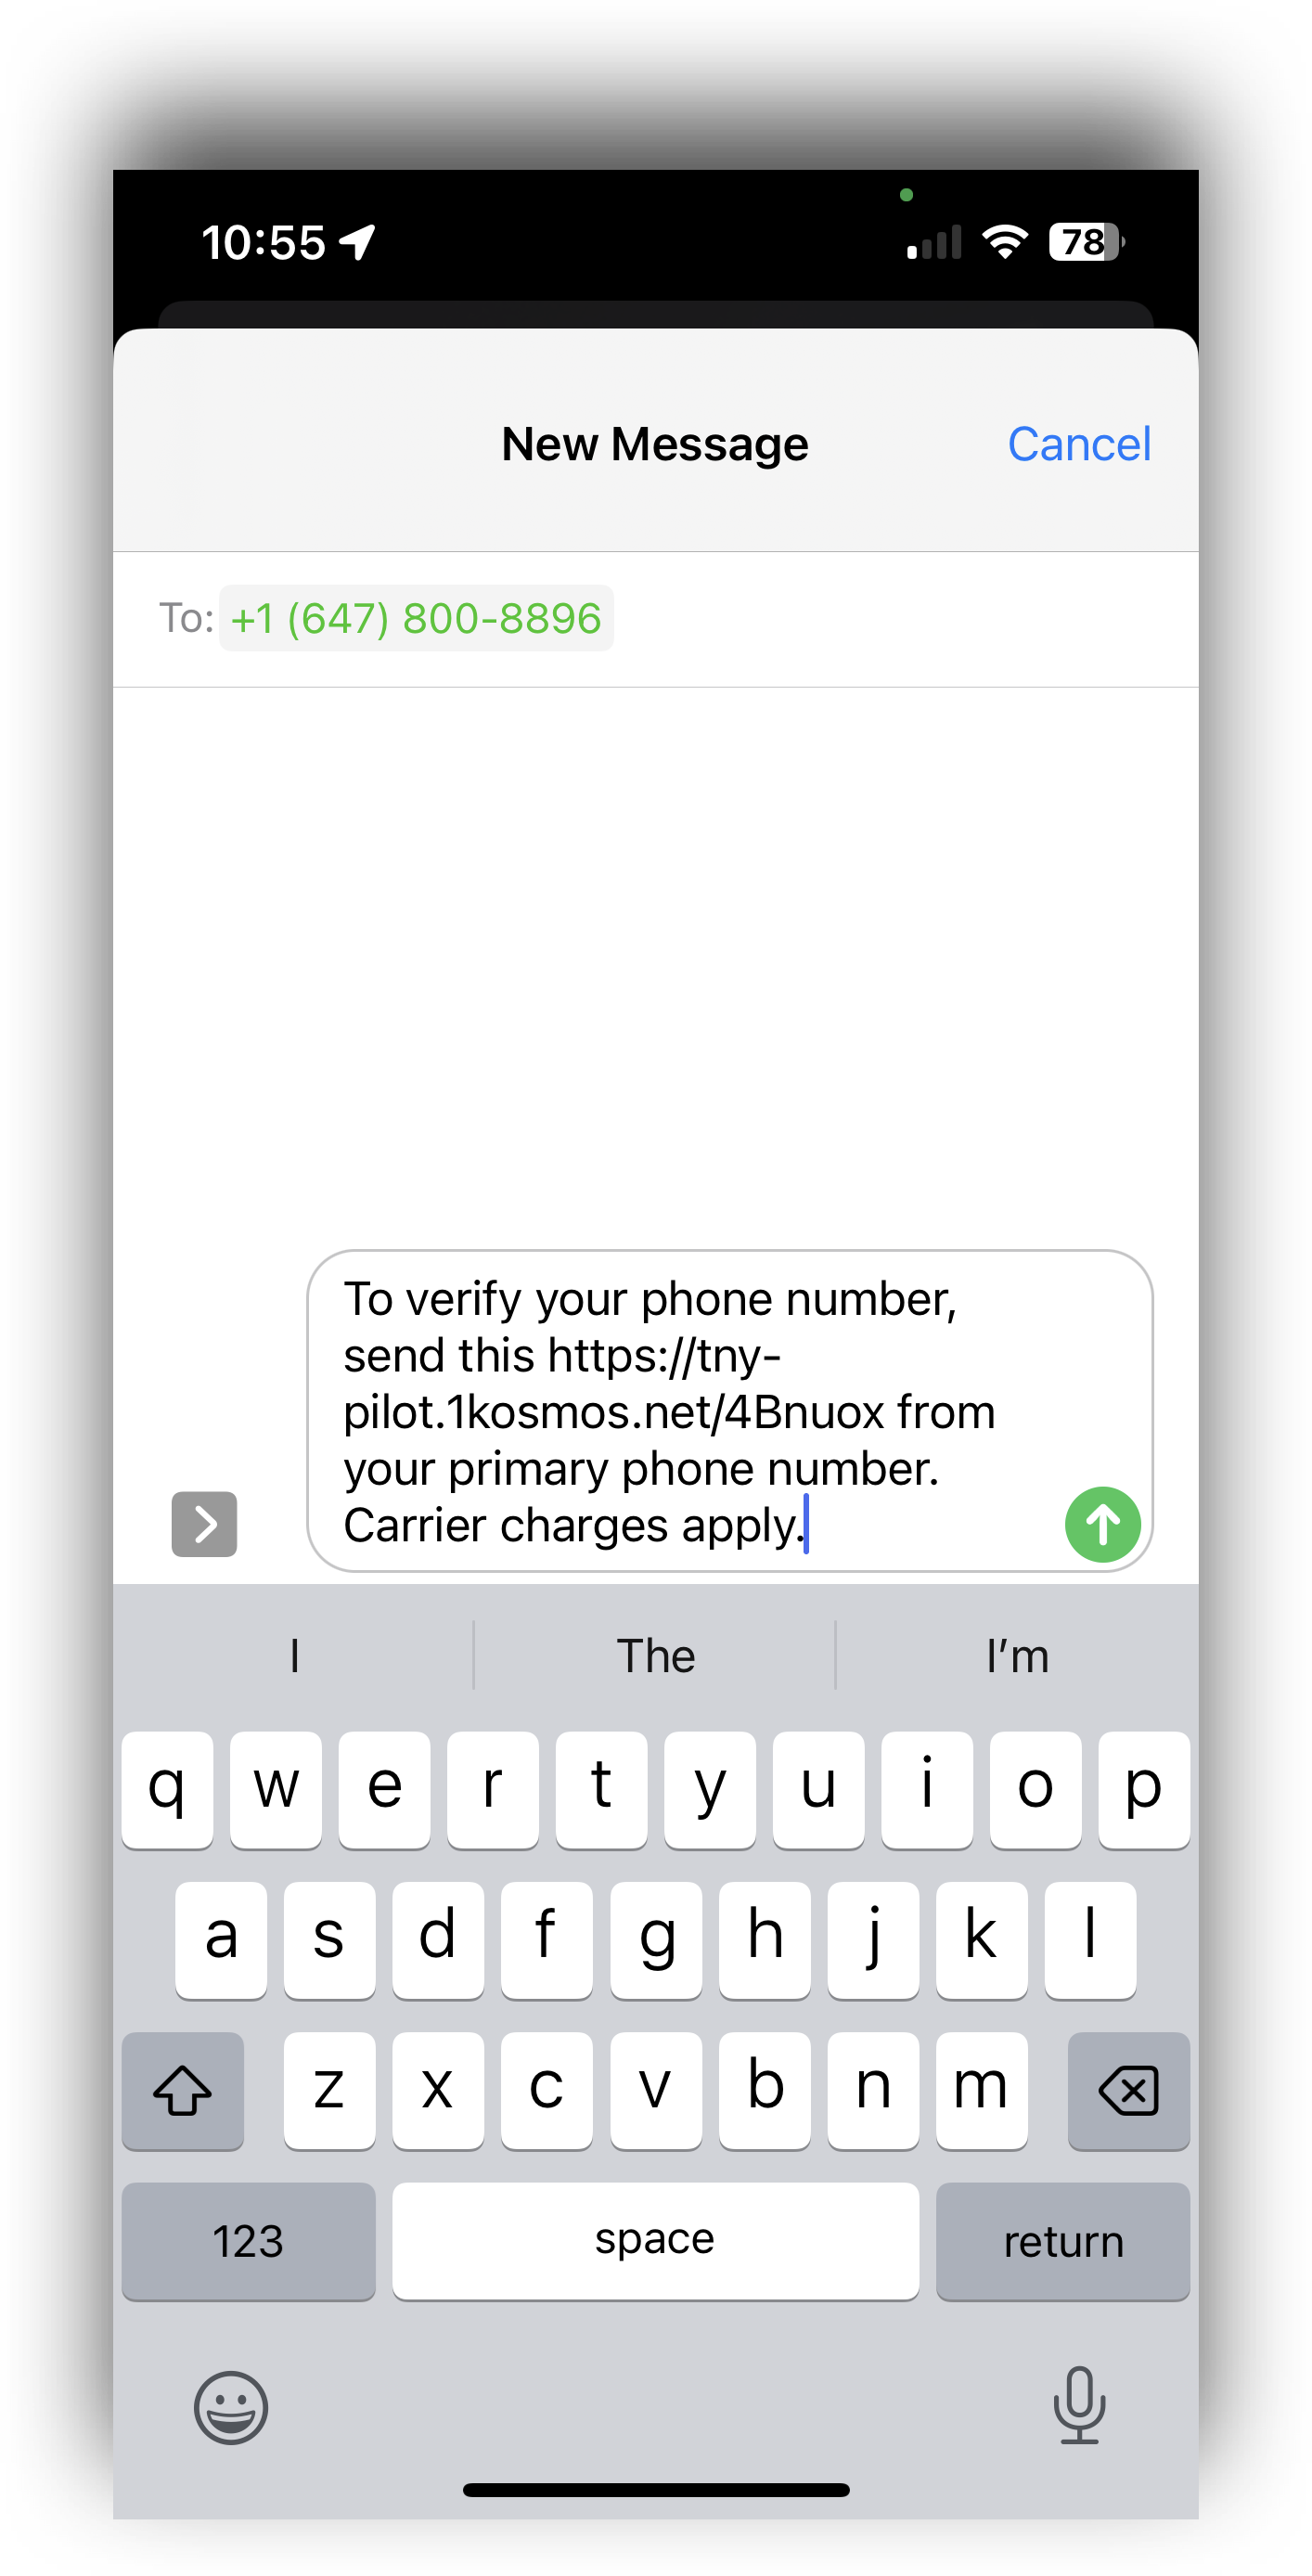
3. Scan the QR code using your mobile device. This will open your messaging app with an SMS message to be sent.
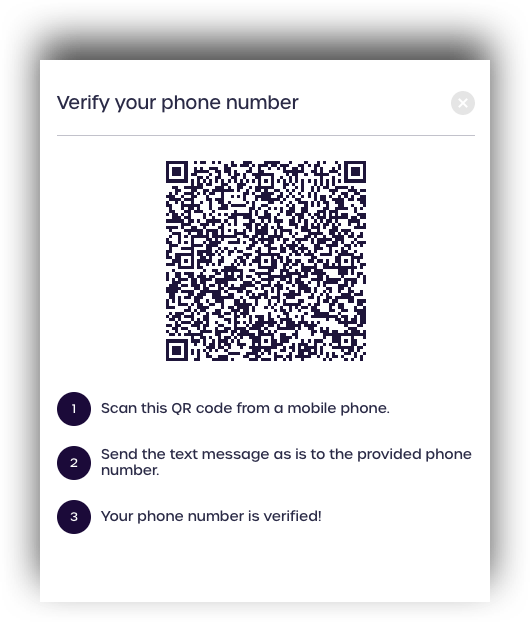
4. Send the SMS message to complete the phone verification.
Setup your MFA methods
Once you have verified your phone number, you can proceed to set up multi-factor authentication (MFA) methods to use with your account. Setting up MFA methods is highly encouraged for all users. Users can setup any combination of the methods listed below unless otherwise specified by an administrator.
Scan QR or Push Notification
Both of these methods require using the BlockID mobile application. Please see the BlockID Mobile Application User Guide for more information on using the application and setting up supported biometric authentication (Touch ID/ Face ID) for your device.
Using this method, users will approve login and sign-in requests by scanning a QR code or entering their username and then responding to a push notification sent to their phone.
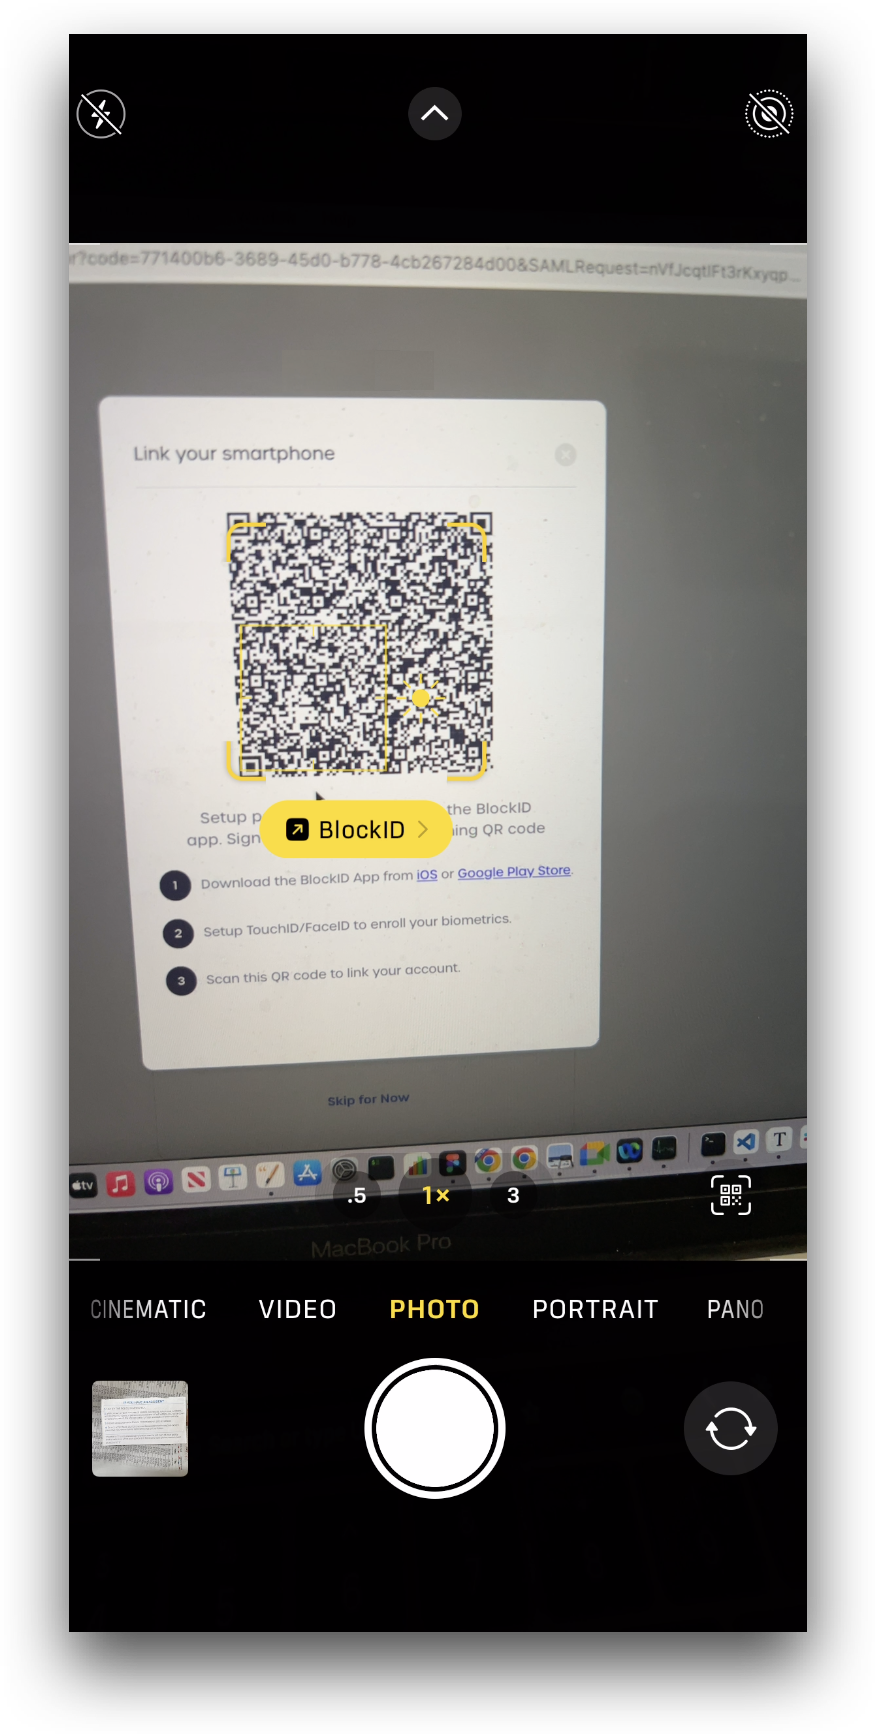
1. To use this method, click Scan QR or Push Notification. A window displaying a QR code will open.

2. Scan the QR code with the camera on your phone to open the embedded link to the BlockID Mobile App.
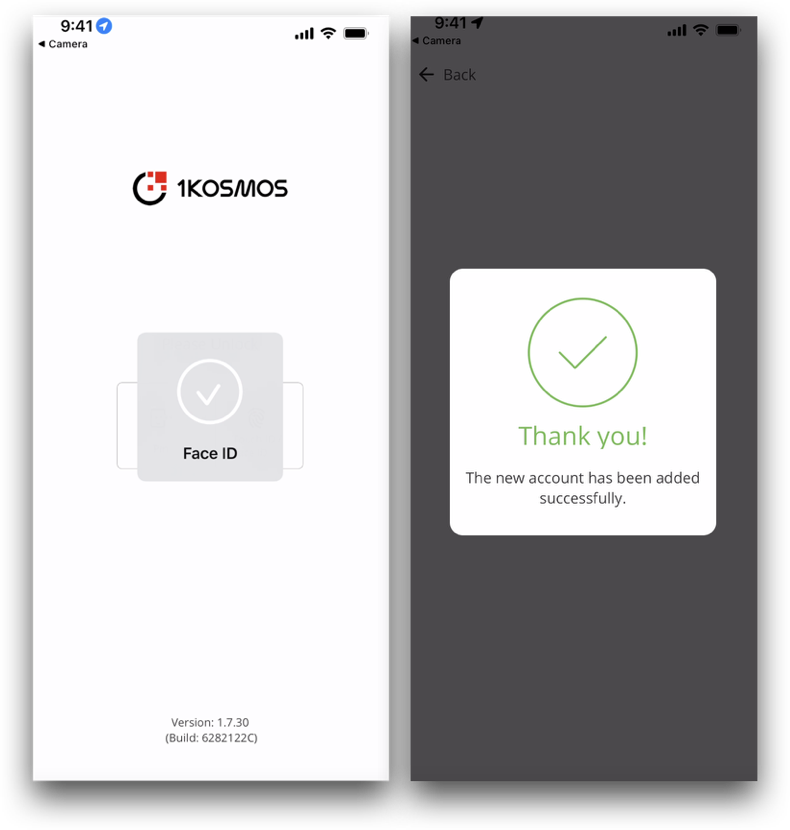
3. Authenticate the request in the mobile application to finish linking your account.
4. Return to the window displaying the QR code. Click Continue to Next Step to proceed.

Device Biometrics
Users with supported hardware can choose to use their built-in device biometrics (Windows Hello/Mac TouchID) as a FIDO platform authenticator for their account.
1. To use this method, click Device Biometrics

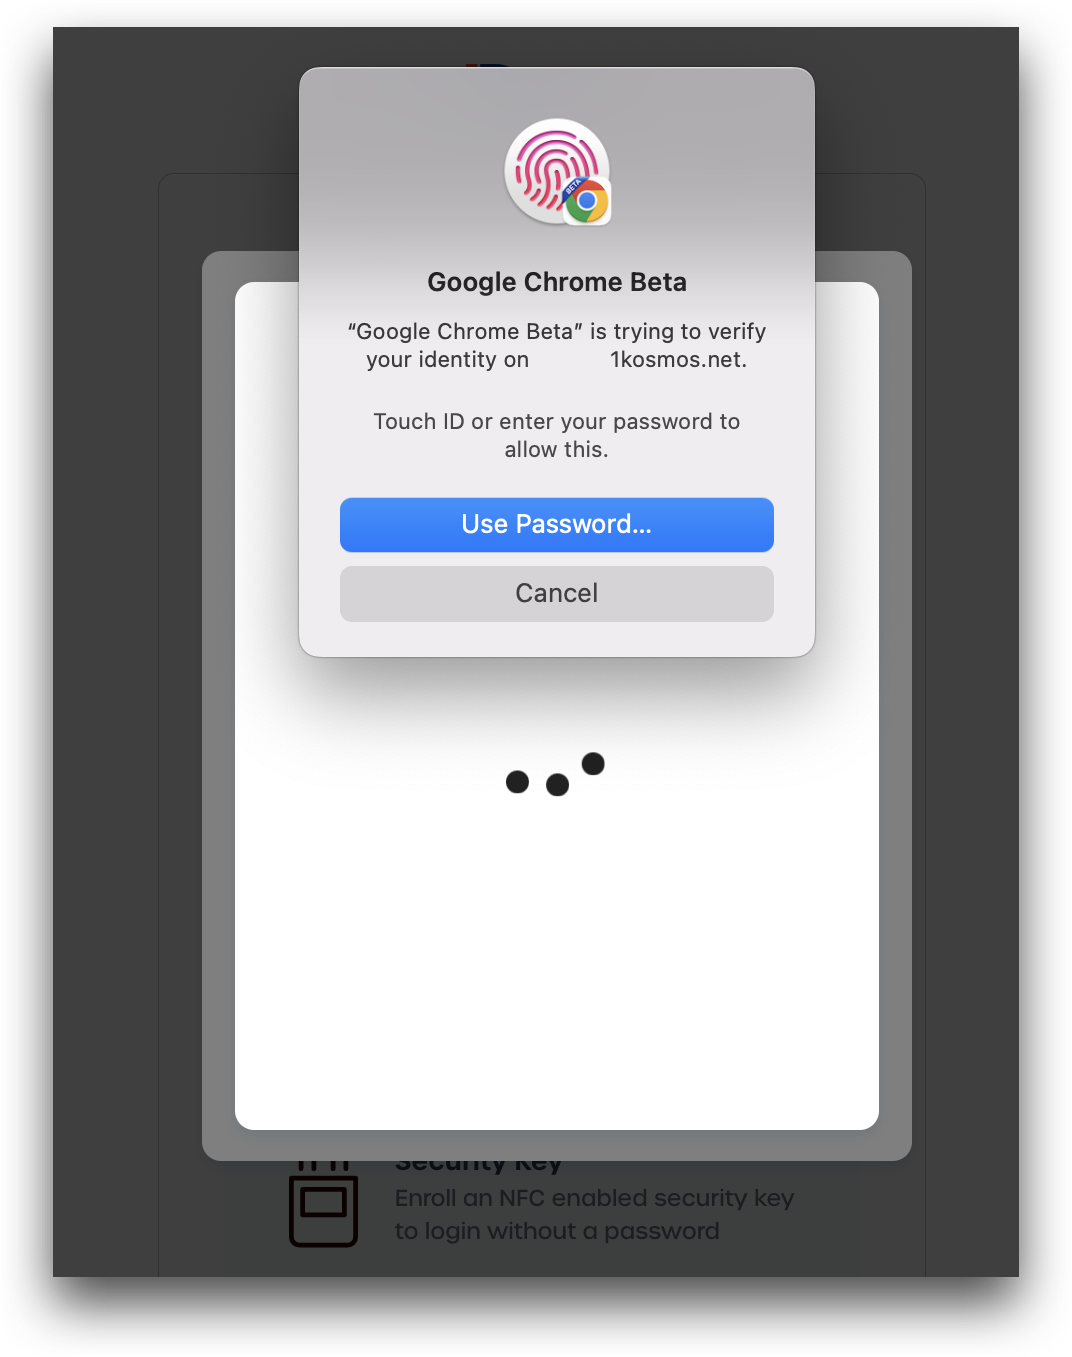
2. Click use platform authenticator.
 3. When prompted, use the biometric authentication method supported on your device. This might be a fingerprint scan (Touch ID) or facial recognition (Face ID) depending on your device.
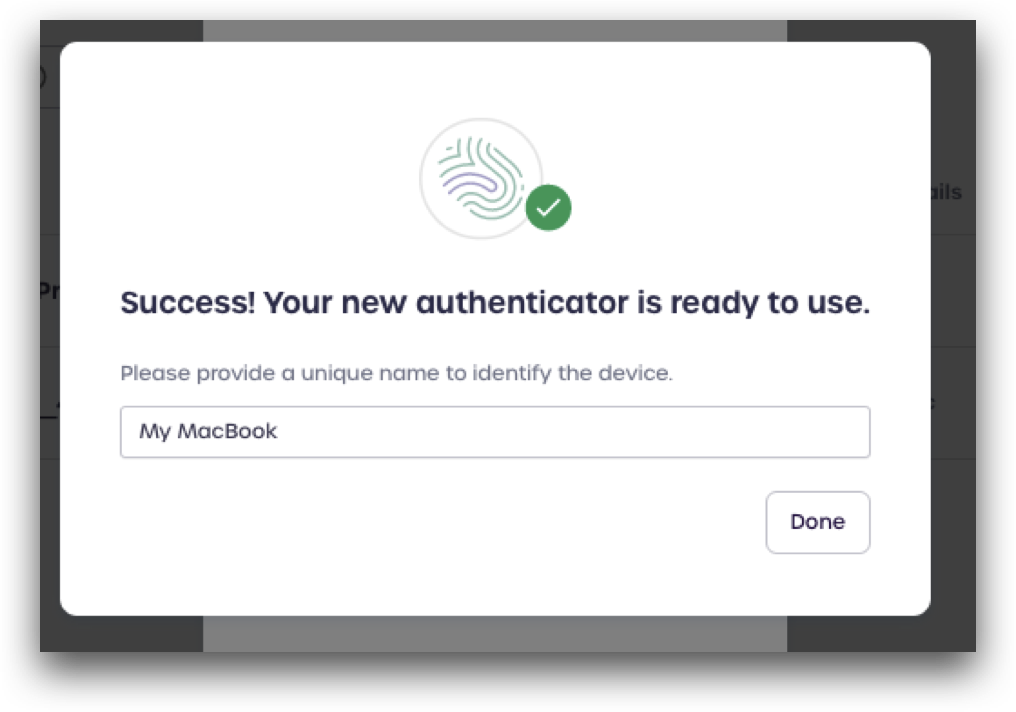
4. Enter the name of your device. Click done when you are finished.
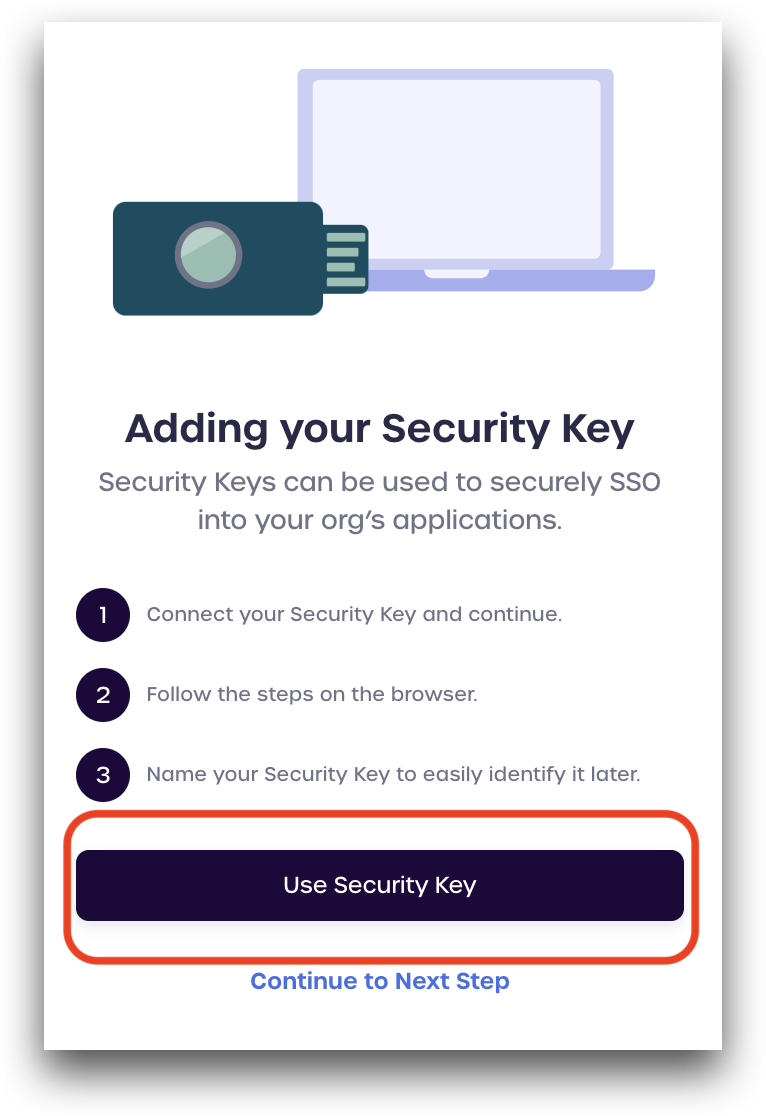
Security Key
Users with a hardware FIDO security key, such as YubiKey, can use this authentication method with their accounts.
1. To use this method, click Security Key

2. Click Use Security Key.
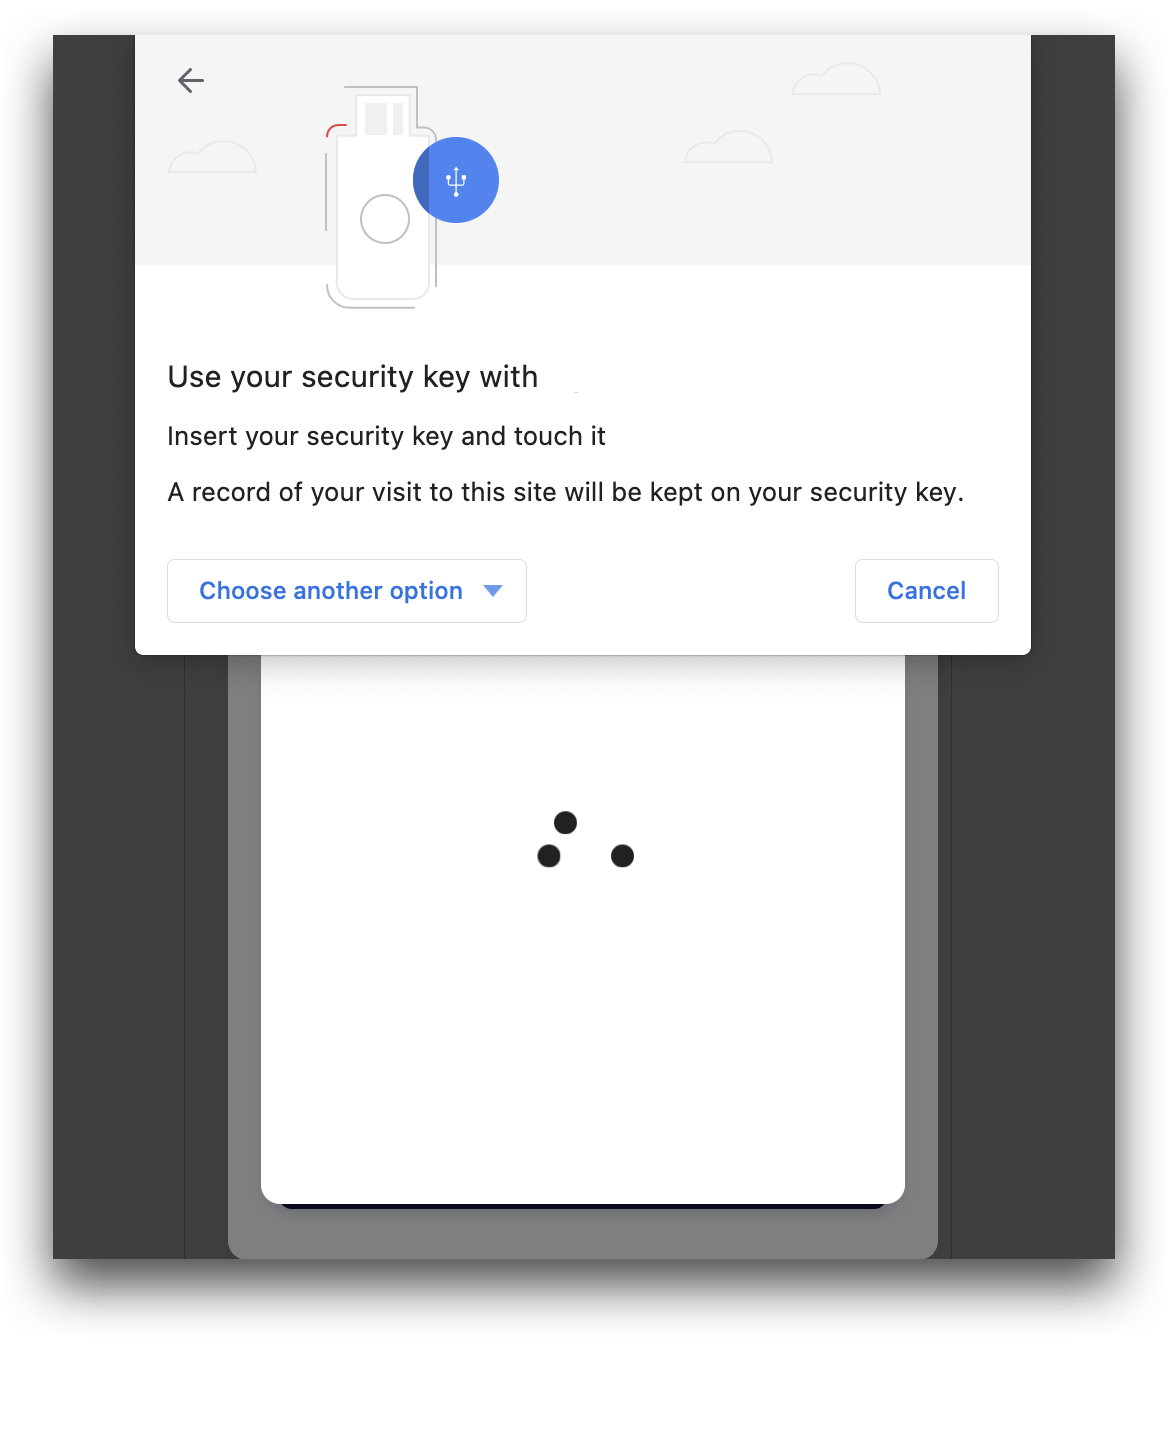
3. Insert and touch your security key when prompted by your browser.
4. After the device has been added, a success message will appear
Set your identity wallet PIN
After configuring authentication methods (or skipping for now), users will be prompted to set a pin for their identity wallet. An identity wallet is a digital wallet where you can safely store your identity documents.
1. Enter a confidential 8-digit pin that you won't forget.
2. Review the message, mark the checkbox confirming you won't share your PIN, and click next.

If this pin is lost there is currently no way to recover your account. A new account will need to be created if you lost your PIN.Your account setup is complete after settings your identity wallet PIN.
Next steps
Was this article helpful?
That’s Great!
Thank you for your feedback
Sorry! We couldn't be helpful
Thank you for your feedback
Feedback sent
We appreciate your effort and will try to fix the article